
Succulent plant watercolor illustration 多肉植物插畫

Details:
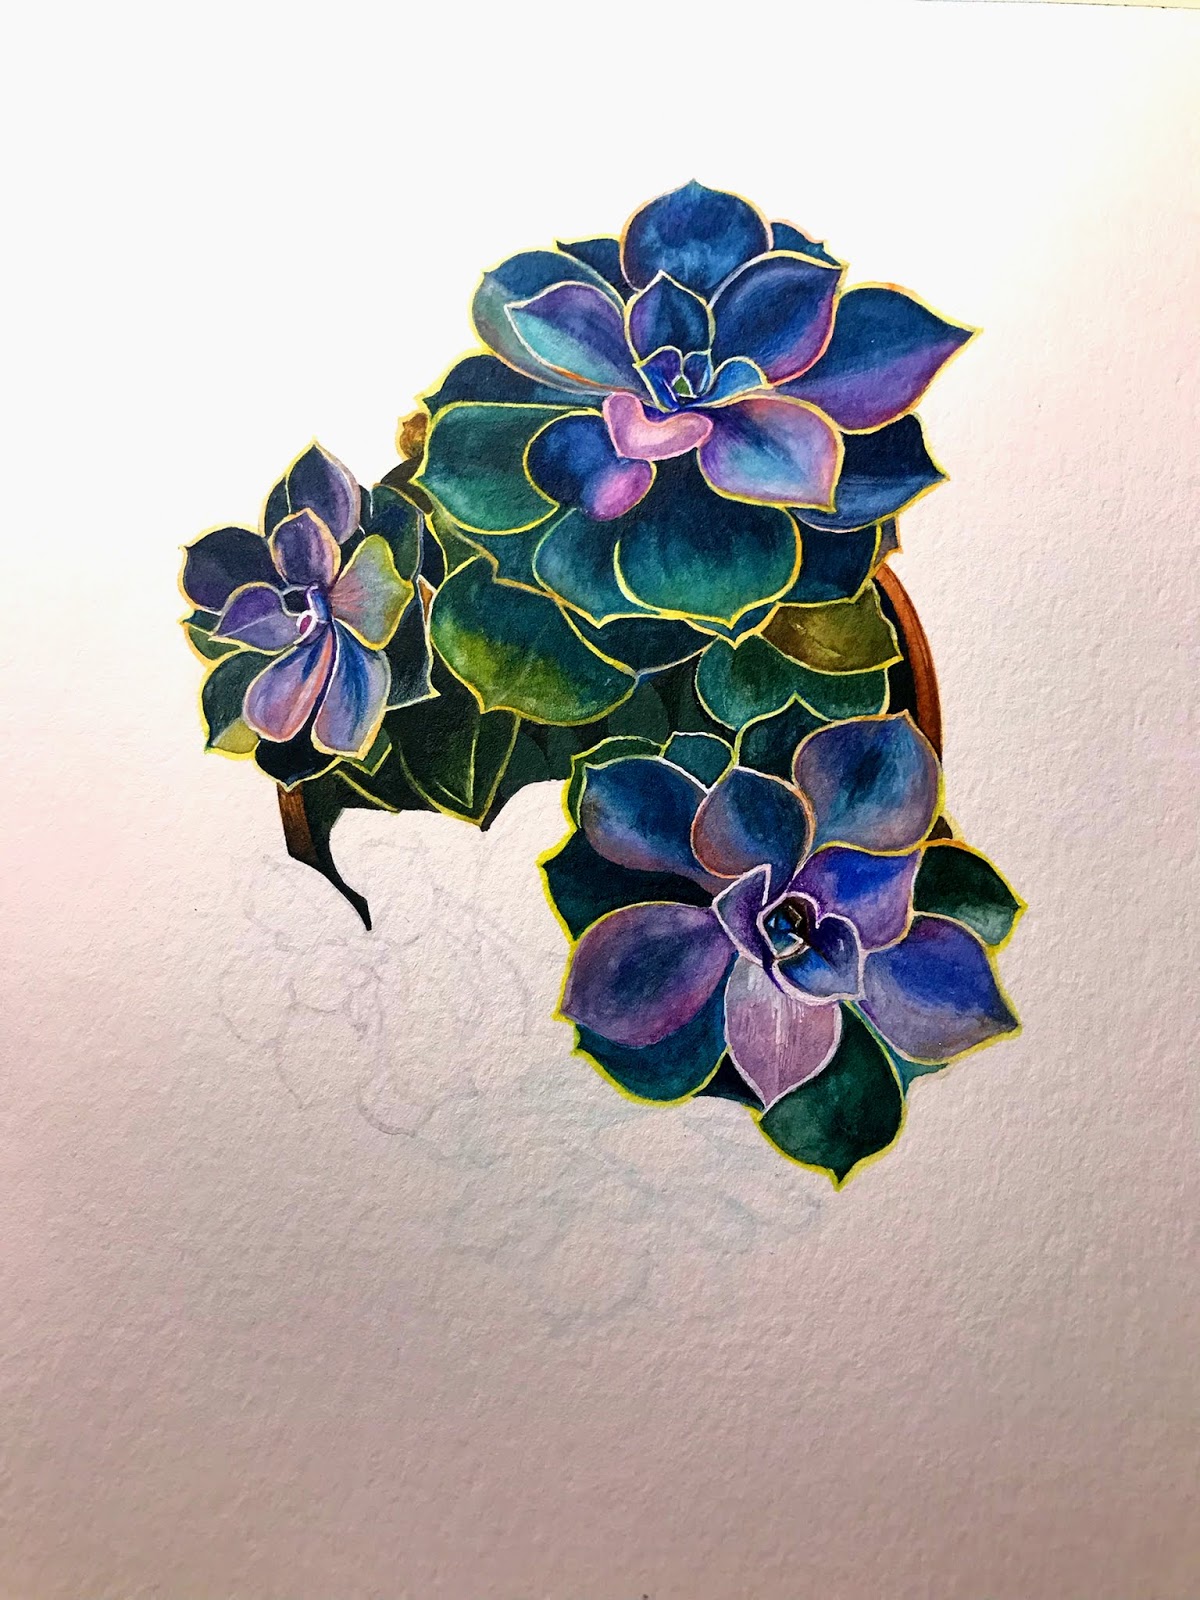
- The finished work as the above photo shows (完成作品如上圖)
- Total painting hours: About 4 hrs (費時約 4 小時完成)
- Paper: CANSON watercolor paper / 9x12in / 300g / Cold press (使用之水彩紙:CANSON 冷壓水彩紙 / 22.9x30.5cm)
- Paints Brand: Holbein watercolor paints & UMAE (使用日本好賓水彩顏料&奧馬)
- Colors that I use in this piece: (這幅插畫所使用的顏色)
- Holbein brand: Lemon yellow / Permanent yellow lemon / Compose blue / Horizon blue / Cobalt green / Phthalo blue yellow / Peacock blue / Prussian blue / Indigo / Marine blue / Compose green / Leaf green / Greenish yellow / Terre verte / Davy's grey / Green Grey / Shadow Green / Permanent violet / Burnt umber / SEPIA / Lamp black / Brillian pink
- UMAE brand: PERIWINKLE & TURQUOISE BLUE
 | |
|
 |
| UMAE watercolor 奧馬水彩 |
WIP photos 製畫過程分解圖
I usually do pencil sketching first, then outline it with light watercolor paints.
The outline color depends on the object, and if the pencil sketching is too dark, I'll eraser it first before starting painting.
(I also put washi tape on the edge to prevent it from bending)
(I also put washi tape on the edge to prevent it from bending)
通常我會先用鉛筆打線搞,之後用淡彩描一遍,先前的鉛筆線搞如果顏色太深,上色前會先用橡皮擦擦過 (紙的4邊我會用紙膠帶貼上防止紙張彎曲)
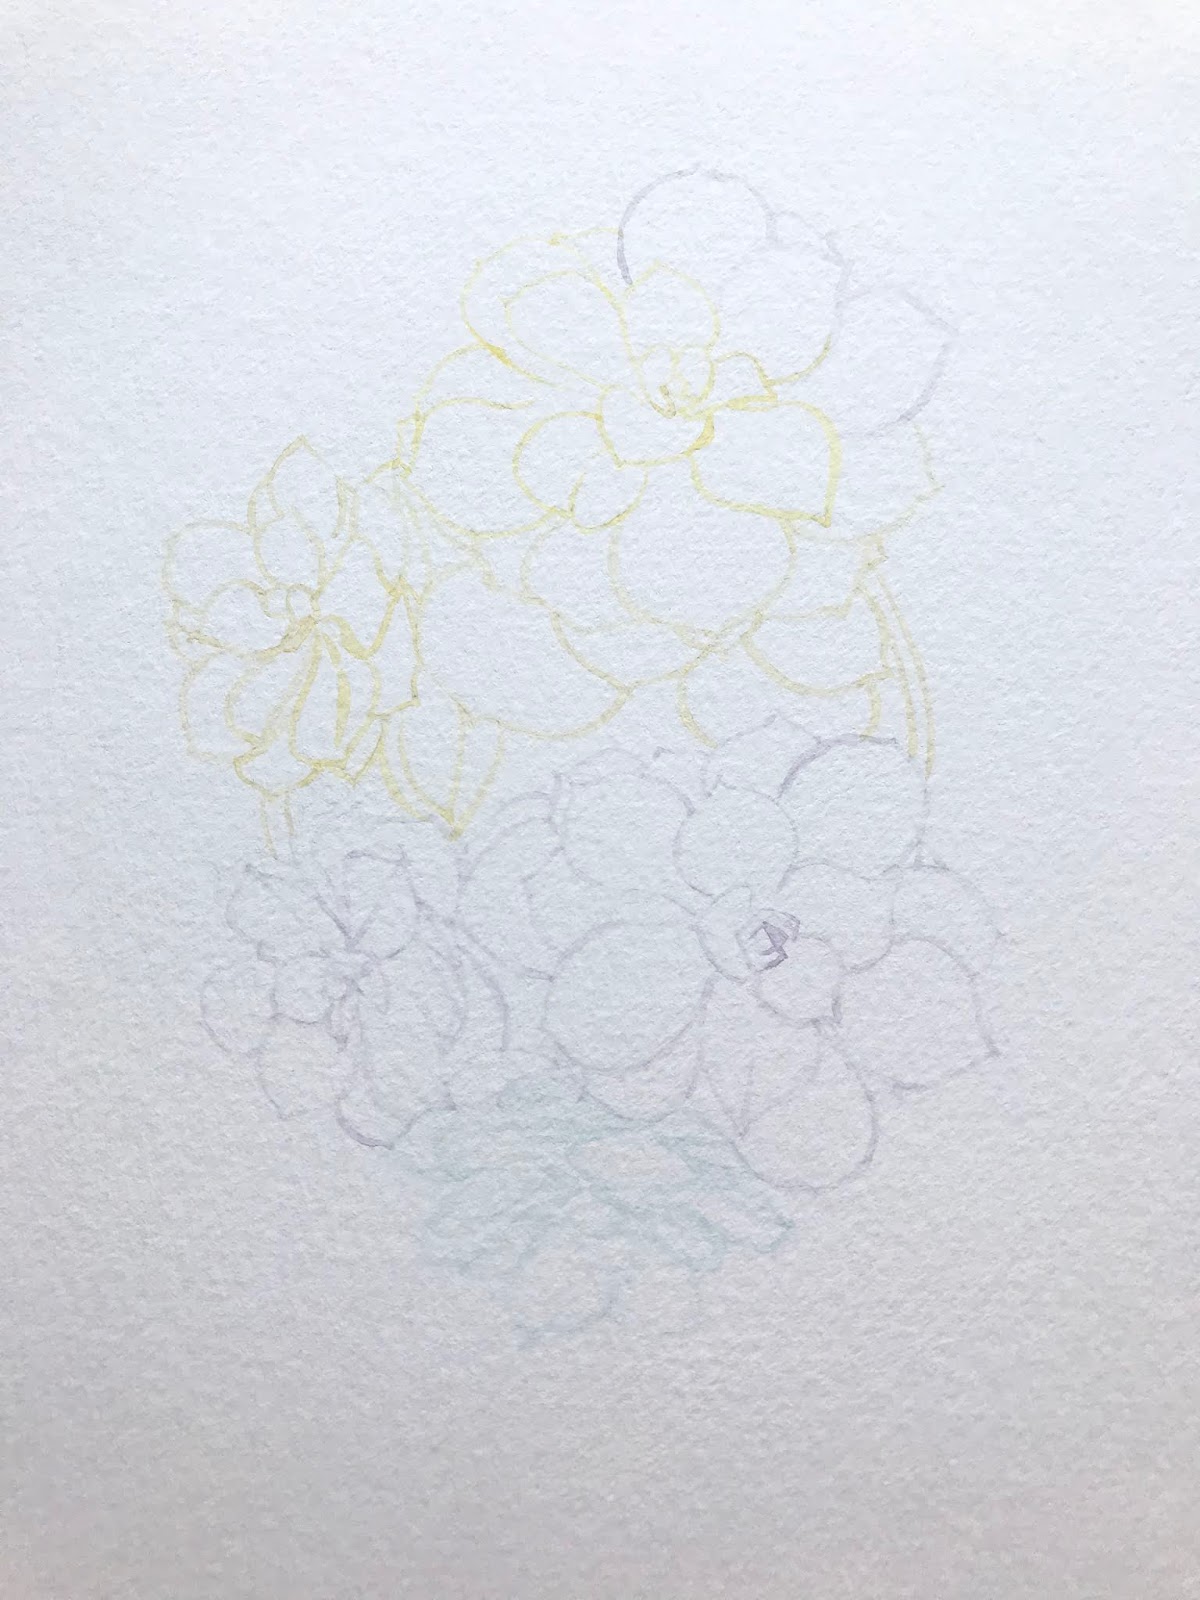
Normally I will put on a base layer of lighter color first. In this piece, the first layer color I use is HORIZON BLUE, and the outline color of the petal are LEMON YELLOW and PERMANENT YELLOW LEMON. Afterwards, I start adding shadows and details of the petal one by one.
正常情況下我都會先上一層底色,這幅作品的底色我是用HORIZON BLUE, 花瓣的外圍是用LEMON YELLOW 跟 PERMANENT YELLOW LEMON畫出來的
之後沿著花瓣一片一片的慢慢加上細節跟陰影


I hope this help you guys and if you have any questions, kindly leave a comment below or message me via my Facebook page here: Windys.Art
希望這篇文章對你們有幫助,如果你們有其他問題,在底下留言跟我說,或是到粉專訊息給我也可以唷:溫蒂插畫


